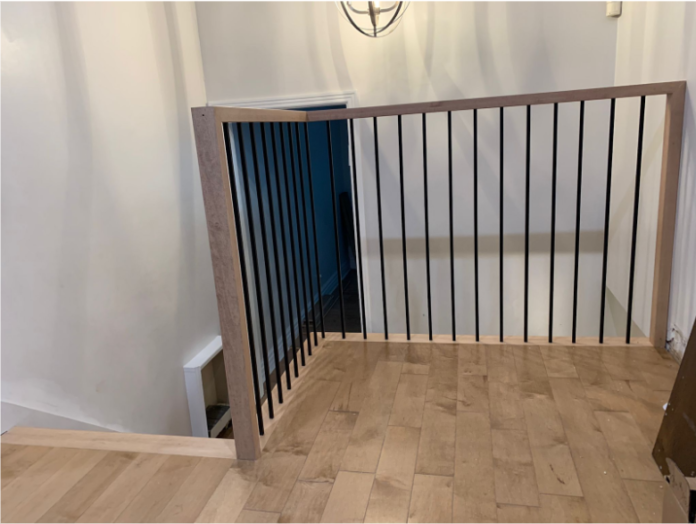
Plaster walls and ceilings add classic charm and durability to many homes and buildings, especially in older constructions. Unlike drywall, plaster is a mixture of lime, cement, sand, and water applied in multiple layers to create a hard, durable surface. Over time, however, plaster can crack, chip, or suffer water damage, detracting from the beauty and integrity of your space.
Fortunately, plaster repair is a manageable DIY project with the right tools, materials, and techniques. Whether you’re fixing a small crack or patching a hole, learning the basics of plaster repair can help you restore your walls to their original smooth, flawless finish.
Common Causes of Plaster Damage
Understanding why plaster cracks or deteriorates can help you prevent future issues and select the most effective repair method.
- Settling and Structural Movement: Houses naturally shift over time, causing small cracks to appear.
- Water Damage: Leaks from roofs, plumbing, or windows can weaken plaster, leading to bubbling, flaking, or crumbling.
- Impact Damage: Doors, furniture, or accidental knocks can chip or puncture plaster surfaces.
- Poor Initial Application: If plaster was applied incorrectly or on unsuitable surfaces, it might separate or crack prematurely.
- Aging: Old plaster can become brittle and fragile, especially in high-humidity areas.
Types of Plaster Repairs
Depending on the damage severity, plaster repair falls into three categories:
- Hairline Cracks
- Thin cracks are often caused by minor settling.
- Usually repaired with filler or joint compound.
- Surface Chips and Small Holes
- Small damaged spots where plaster has chipped away.
- Require patching with plaster or patching compound.
- Large Holes and Damaged Sections
- Areas where plaster has fallen off or water damage has caused major deterioration.
- May require removing loose plaster and applying multiple layers of plaster or a patchboard.
Tools and Materials Needed
Before starting your plaster repair project, gather these essential tools and materials:
- Plaster or patching compound (premixed or powder)
- Joint compound (for finishing)
- Putty knife or plaster trowel
- Sandpaper (medium and fine grit)
- Wire brush (to remove loose plaster)
- Sponge and water
- Primer or bonding agent
- Utility knife or drywall saw (for larger repairs)
- Mesh or patching tape (for reinforcing holes or cracks)
- Drop cloth and painter’s tape
Step-by-Step Guide to Plaster Repair
1. Prepare the Area
- Lay down a drop cloth to protect the floors.
- Remove any loose plaster or debris with a wire brush or utility knife.
- Clean the damaged area with a damp sponge to remove dust.
2. Apply a Bonding Agent
- For better adhesion, apply a plaster bonding agent or primer to the damaged surface.
- Allow it to dry according to the product instructions.
3. Fix Cracks and Small Holes
- Use a putty knife to fill hairline cracks or small holes with plaster or patching compound.
- For cracks wider than 1/8 inch, embed mesh tape before applying the compound.
- Smooth the surface as much as possible.
4. Repair Larger Holes or Damaged Sections
- Cut away loose or damaged plaster until you reach a solid edge.
- If needed, install a patchboard or mesh for support.
- Apply plaster in layers: the first layer (scratch coat) should be rough to help the subsequent layers adhere.
- Once the scratch coat dries, apply a finish coat, smoothing the surface with a trowel.
- Allow each layer to dry thoroughly.
5. Sand and Finish
- After the plaster dries completely, sand the repaired area with medium, then fine grit sandpaper until smooth and level with surrounding surfaces.
- Wipe away dust with a damp cloth.
- Apply primer before painting for the best finish.
Tips for Successful Plaster Repairs
- Work in Thin Layers: Applying thick plaster in one go can cause cracking as it dries.
- Maintain Moisture: Mist plaster with water during drying if needed to prevent shrinkage cracks.
- Match Texture: If your wall has a textured finish, try to replicate it while the plaster is still wet.
- Be Patient: Allow ample drying time between coats—rushing can cause failures.
- Use Quality Materials: Good plaster and bonding agents ensure durability.
- Safety First: Wear a mask when sanding old plaster, especially if your home was built before 1978 (due to potential lead paint).
When to Call a Professional
While minor plaster repairs are great for DIY enthusiasts, certain situations require a pro’s touch:
- Extensive water damage or mold growth.
- Structural issues are causing widespread cracking.
- Historic plaster needing specialized restoration.
- Large areas of damaged or crumbling plaster.
- Electrical or plumbing work behind walls.
Professionals have the tools and skills to assess and repair these more complex problems safely and effectively.
Conclusion
Plaster repair might seem intimidating at first, but with the right preparation and techniques, you can restore your walls and ceilings beautifully. Whether patching a small crack or repairing a larger hole, patience and attention to detail will yield smooth, professional-looking results that preserve the charm and integrity of your plaster surfaces.
By understanding common causes, selecting suitable materials, and following a step-by-step approach, you can maintain your home’s plaster walls in optimal condition for years to come.

